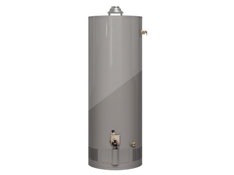
Water Heater (electric)
Routine Care Task
Flush out sediments, and test pressure relief valve
Tank flushing: Over time, the hot temperature of the water in the tank causes lime sediments from the water to tend to build up in the bottom of the tank (depending on the water's hardness).This build-up causes the water heater to lose heat transfer energy efficiency, which means that the water heater has to work harder to heat the water, making it more expensive to operate.
Relief valve testing: The pressure relief valve is an important safety feature of your water heater.If too much pressure builds up on the tank, the pressure relief valve opens up to relieve the pressure.However, corrosion or scale build-up can prevent the valve from operating properly, potentially resulting in the tank exploding.Therefore it is very important to test the pressure relief valve to ensure that it is operating properly.
Priority
Timing: Every 4 months: March, September, December (yearly)
NOTE: The tasks and timings shown here for your Water Heater (electric) are based on a single-family home located in Massachusetts with a default set of home care goals and priorities.
If you setup your POLICY-Wizard™ personal home manager for a different location with different home care goals, your recommended home care program can have different tasks and timings for your {home feature}.
How To

FLUSH OUT SEDIMENTS: On the side of the hot water heater, on the lower part of the tank, is a valve for draining water out of the tank of the hot water heater. Draining water out of the tank flushes out sediments that settle to the bottom of the tank as the water is heated.
To flush the tank:
For electrical water heaters, turn OFF the power at the circuit breaker. And for gas models, turn the thermostat on the unit to the PILOT position.
Connect a garden hose to the drain valve at the bottom of the tank, and put the other end either in a 5-gallon bucket, a floor drain, or run the hose outside.
If you have a recirculation pump for your hot water system, then turn this off.
Shut off the supply valve for the cold water inlet to the water heater.
Open a HOT water faucet in a sink closest to your water heater, and open another HOT water faucet in a sink that is at the highest point in your house (NOTE: Just a little water will flow out, since you have shut the water supply valve to your hot water heater in the step above).
Open the pressure relief valve at the top of the tank (you might want to place a rag or small bowl under the vent pipe to catch any water drops that might come out).
Open the drain valve on you tank and drain 1 to 2 gallons from the tank. NOTE: The water coming out of the garden hose will be scalding hot so be careful that the water doesn't splash anywhere except in the bucket, drain, or outside. As the water begins to drain out, you will probably notice some small scale or sediment in the water.
To re-fill the tank:
Close the drain valve and remove the garden hose.
Close the pressure relief valve at the top of the tank.
Open the valve for the cold water inlet to the tank, and you should start to hear the tank fill with water.
Watch the faucets that you opened in the house. After you begin to get a steady stream of water from the faucet, shut that faucet.
For electric water heaters, turn the power back on, and for gas models, turn the thermostat on the water heater back to its ON position.
If you have a recirculation pump, then turn it back on.
Double check that the drain valve is tight.
TEST PRESSURE RELIEF VALVE: The pressure relief valve is at the top of the tank, with a drain tube extending down from it.
To test the valve, with the water supply valve to your water heater in the open position (i.e., its normal operating position), place a bucket under the vent pipe for the valve, then lift the lever on the valve for a few seconds to let water flush out through the valve.
If little or no water flows out, or if the valve doesn't shut off, then replace it.
NOTE: The water coming out of the vent pipe will be scalding hot, so be careful that the water doesn't splash on you.
Helpful Accessories

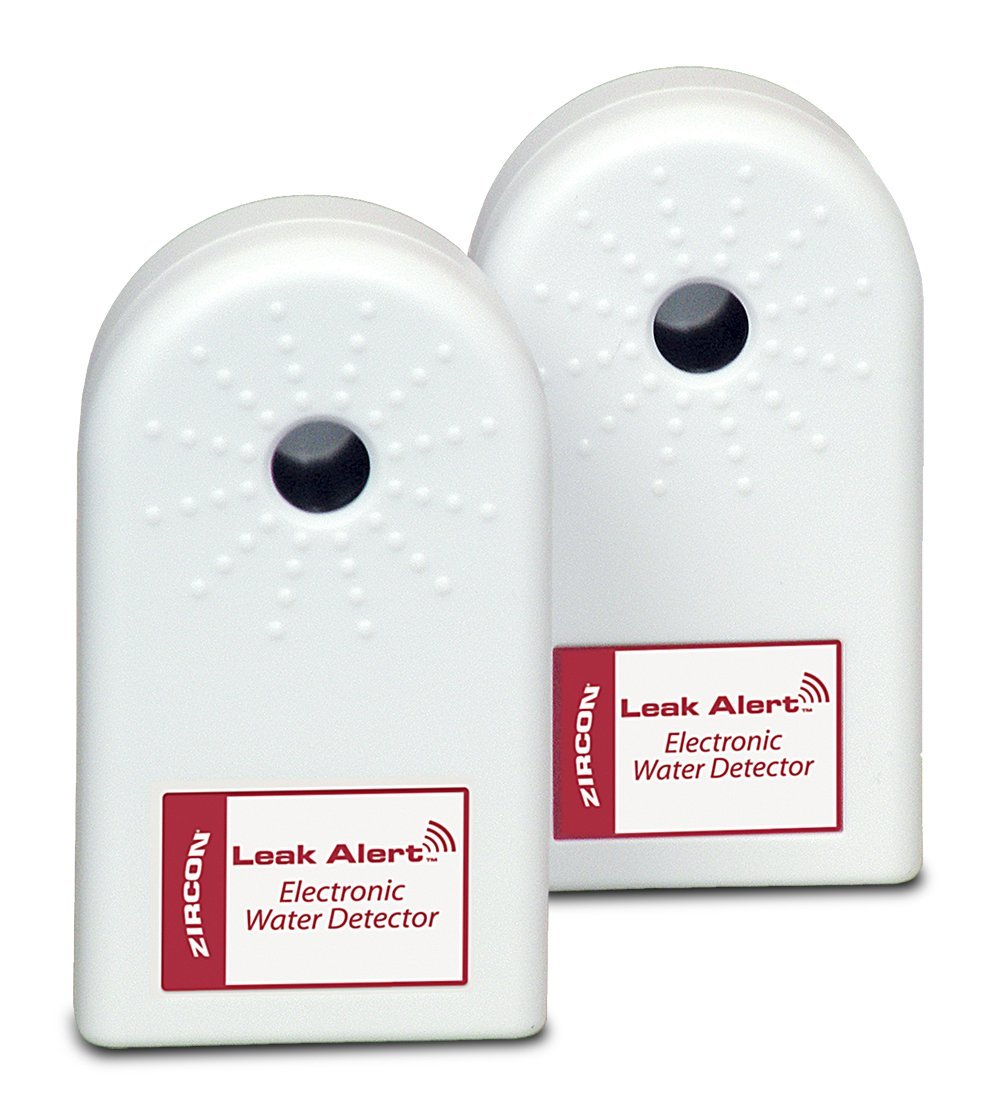
Alarm sounds for up to 72 hours with direct water contact
consumer reviews, choices, prices

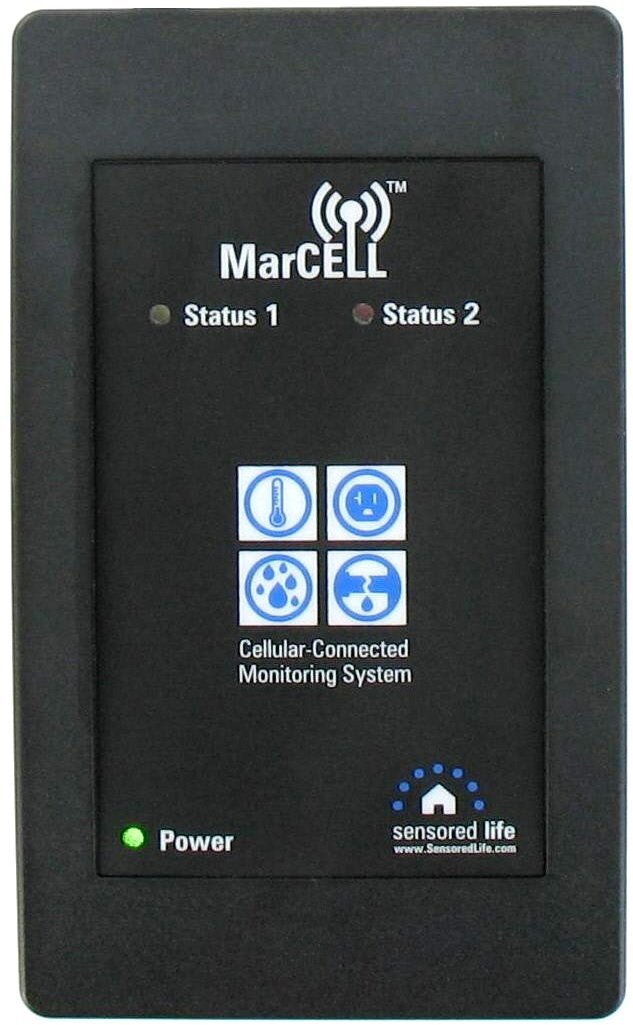
Water leak monitoring and alarm system accessible in a web browser
consumer reviews, choices, prices
Benefits
The benefits of this task are moderately high, as doing this task will help extend the useful life of your water heater, which is a relatively expensive piece of equipment in your home. This task also helps save you energy by maintaining the efficiency of your water heater. Testing the relief valve helps insure safe operations of your unit.
-

Energy Savings
-

Health & Safety
-

Avoiding Unscheduled Repairs
-

Maintaining Value
Costs
The cost of this task is moderately high from an investment of time standpoint. It is estimated that this task should take about 60 minutes to complete. You will need a hose and bucket to do this task.


